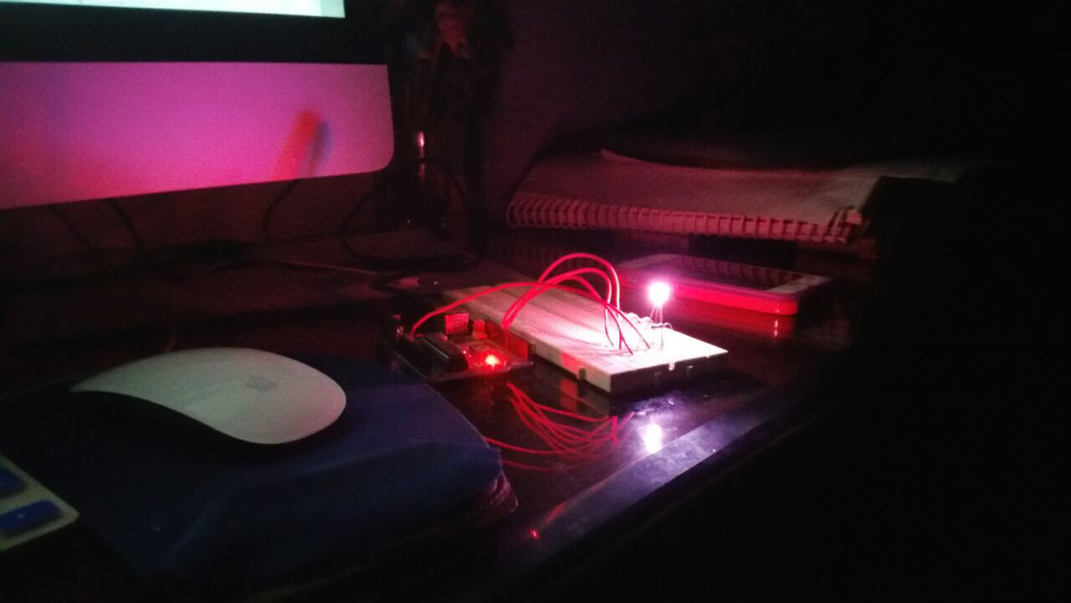
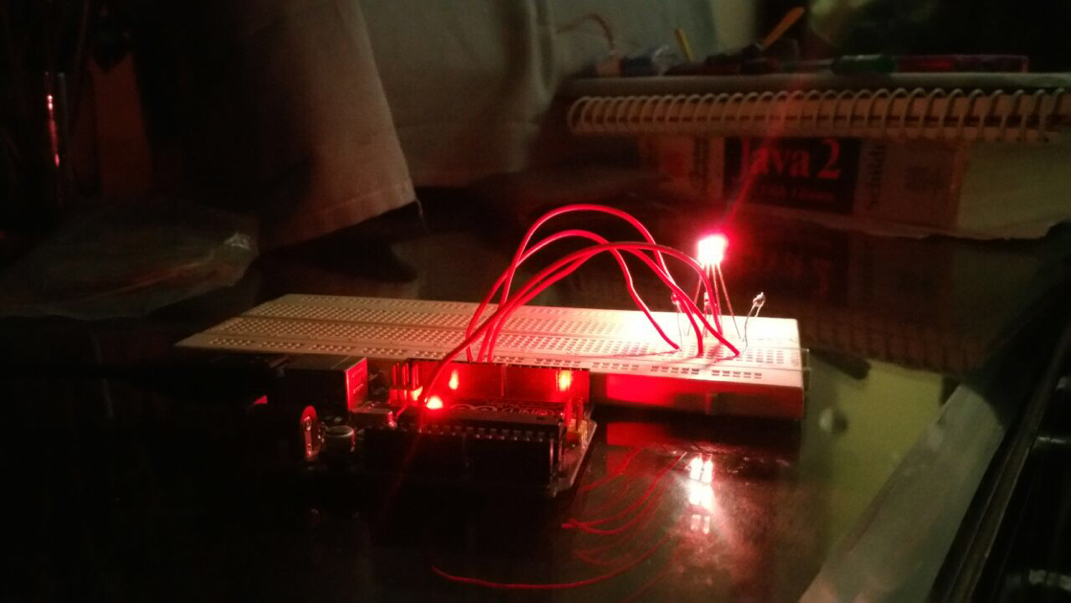
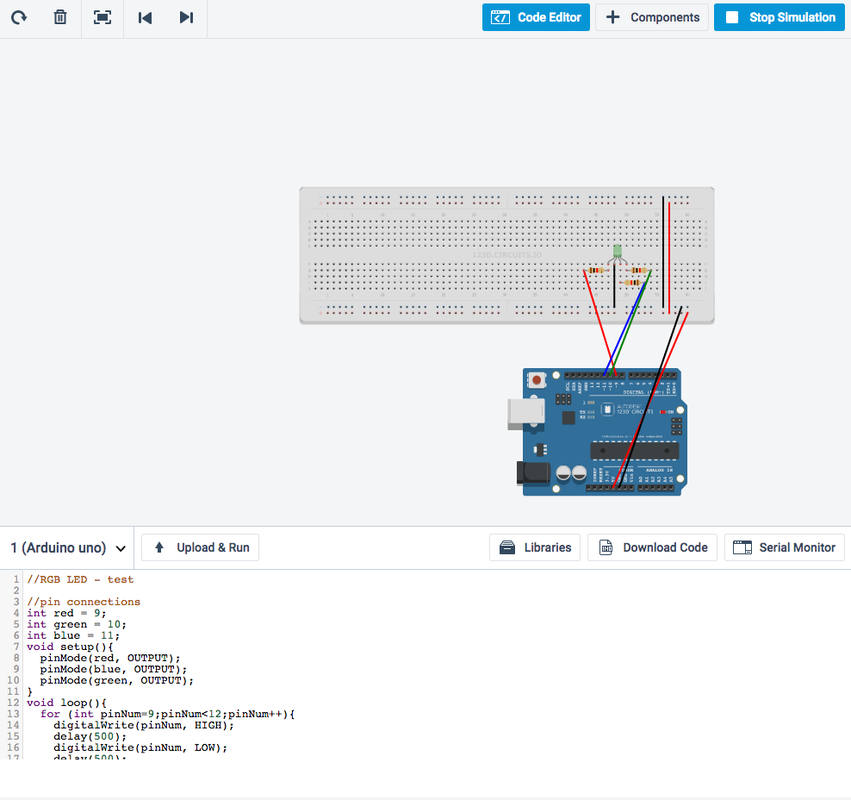
I am making an interactive light using Arduino uno, a RGB LED and without the ethernet shield.My aim is to make it flash with music beats.I have been reading various blogs by other makers and i have short-listed few ways of doing this.
Flashing the LED to music can be done by following ways:-
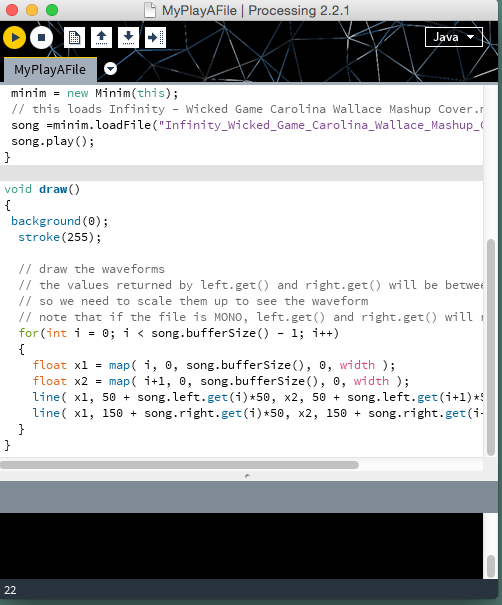
I am making this lamp using the Processing and Minim audio library.In the previous blog i have discussed about this minim library.Using this library you can make BeatDetector and BeatListner code that you would be running in processing sketch.
Flashing the LED to music can be done by following ways:-
- Using Sound sensor
- Using Op-amps to amplify audio signals and further use filters
- Using Minim library with Processing IDE
I am making this lamp using the Processing and Minim audio library.In the previous blog i have discussed about this minim library.Using this library you can make BeatDetector and BeatListner code that you would be running in processing sketch.
Programming Arduino
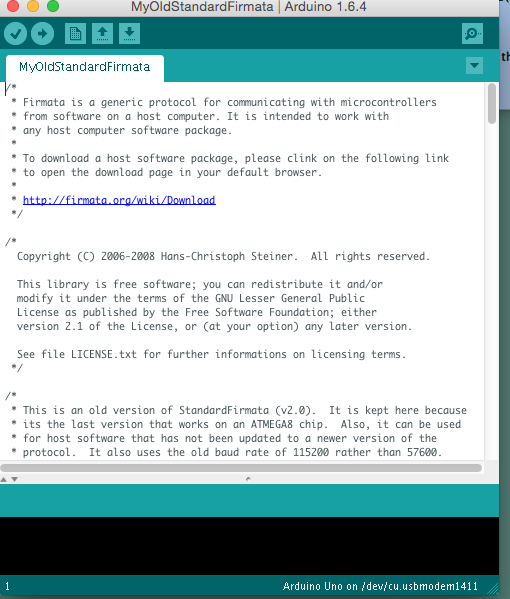
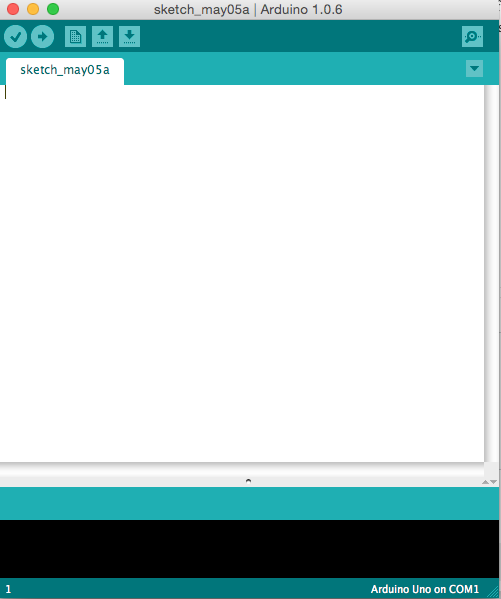
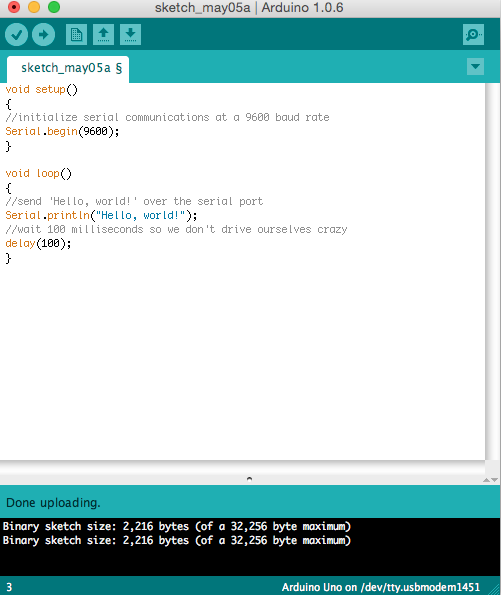
We won't be writing any separate codes for Arduino IDE and Processing IDE.All we need to do is to load firmata on Arduino like this go to Arduino-->File-->Examples--->Firmata--->OldStandardFirmata.
Upload that sketch on Arduino uno board.
Upload that sketch on Arduino uno board.
Working with Processing
Follow these steps while writing code in Processing :
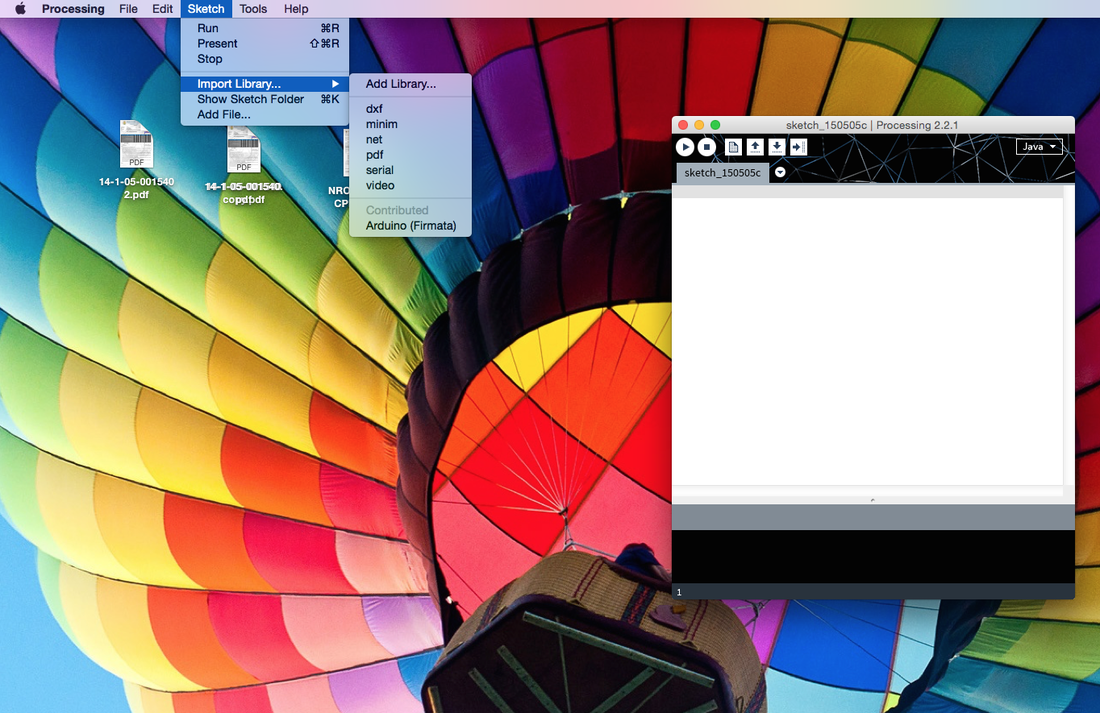
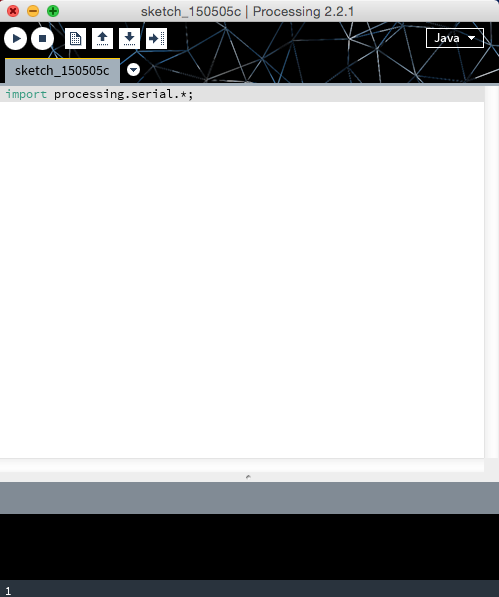
- Import libraries: Make sure you have imported the following libraries as below:-
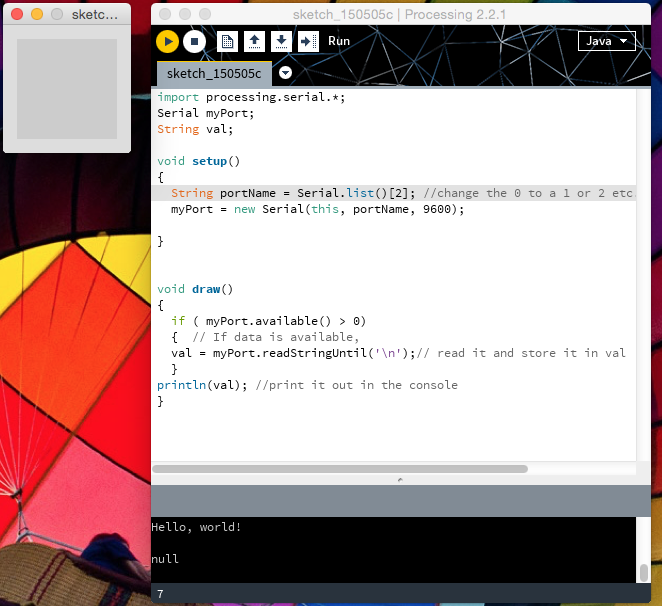
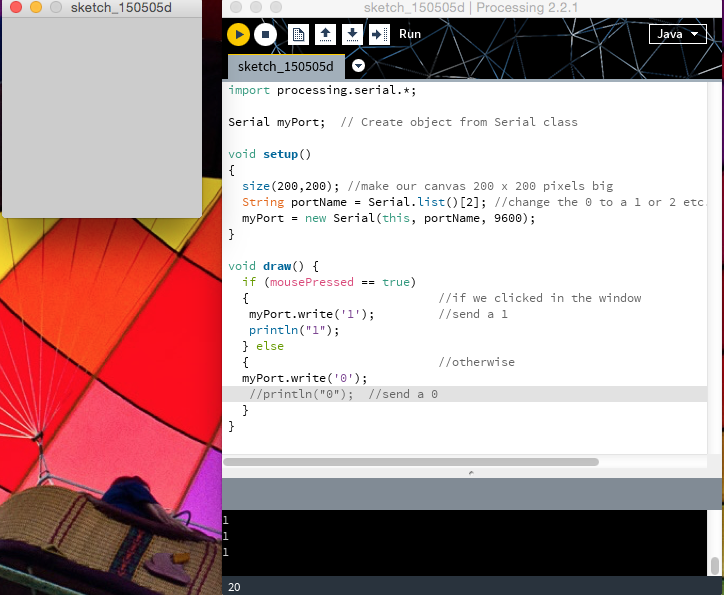
import processing.serial.*; // for serial communication with arduino board covered in very first blog
import ddf.minim.*; //import minim library
import ddf.minim.analysis.*;
import cc.arduino.*; //since we won't be writing program for arduiono to trigger our leds so we need to import this lib as well
import org.firmata.*;
- Creating Objects :Now moving onto next part that is creating objects to access the methods within those libraries.
AudioPlayer song; // AudioPLayer library in minim using song as object
BeatDetect beat; //BeatDetect is a class part of minim analysis
BeatListener bl; //class BeatListner implements AudioListner from minim library
Arduino arduino; // arduino object to access the led pins for controlling them
- BeatDetect class :The BeatDetect class allows you to analyse an audio stream for beats (rhythmic onsets).
To use this class, inside of draw() you must first call detect(), passing the AudioBuffer you want to analyse. You may then use the isXXX functions to find out what beats have occurred in that frame. For example, you might use isKick() to cause a particular combination of led to pulse.
BeatDetect has two modes: Sound energy tracking and Frequency energy tracking.
In sound energy mode, the level of the buffer, as returned bylevel(), is used as the instant energy in each frame. Beats, then, are spikes in this value, relative to the previous one second of sound.
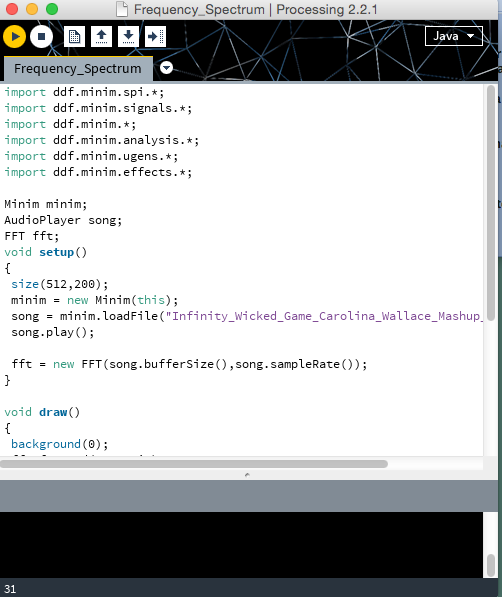
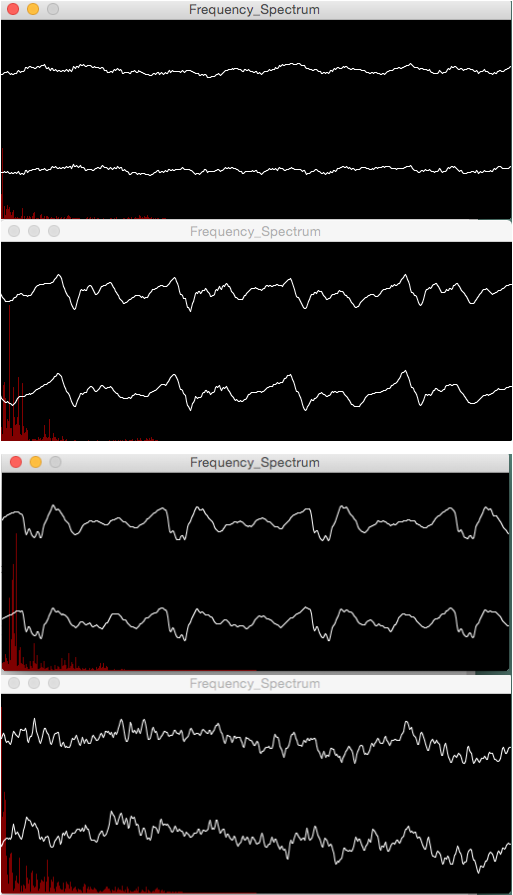
In frequency energy mode, the same process is used but instead of tracking the level of the buffer, an FFT is used to obtain a spectrum, which is then divided into average bands using logAverages(), and each of these bands is tracked individually. The result is that it is possible to track sounds that occur in different parts of the frequency spectrum independently (like the kick drum and snare drum).
In sound energy mode you use isOnset() to query the algorithm and in frequency energy mode you use isOnset(int i), isKick(), isSnare(), andisRange() to query particular frequnecy bands or ranges of frequency bands. It should be noted that isKick(), isSnare(), and isHat() merely callisRange() with values determined by testing the algorithm against music with a heavy beat and they may not be appropriate for all kinds of music. If you find they are performing poorly with your music, you should use isRange() directly to locate the bands that provide the most meaningful information for you.
BeatWrite Code
/**
* This sketch demonstrates how to use the BeatDetect object in FREQ_ENERGY mode.<br />
* You can use <code>isKick</code>, <code>isSnare</code>, </code>isHat</code>, <code>isRange</code>,
* and <code>isOnset(int)</code> to track whatever kind of beats you are looking to track, they will report
* true or false based on the state of the analysis. To "tick" the analysis you must call <code>detect</code>
* with successive buffers of audio. You can do this inside of <code>draw</code>, but you are likely to miss some
* audio buffers if you do this. The sketch implements an <code>AudioListener</code> called <code>BeatListener</code>
* so that it can call <code>detect</code> on every buffer of audio processed by the system without repeating a buffer
* or missing one.
* <p>
* This sketch plays an entire song so it may be a little slow to load.
*/
import processing.serial.*;
import ddf.minim.*;
import ddf.minim.analysis.*;
import cc.arduino.*;
import org.firmata.*;
Minim minim;
AudioPlayer song;
BeatDetect beat;
BeatListener bl;
Arduino arduino;
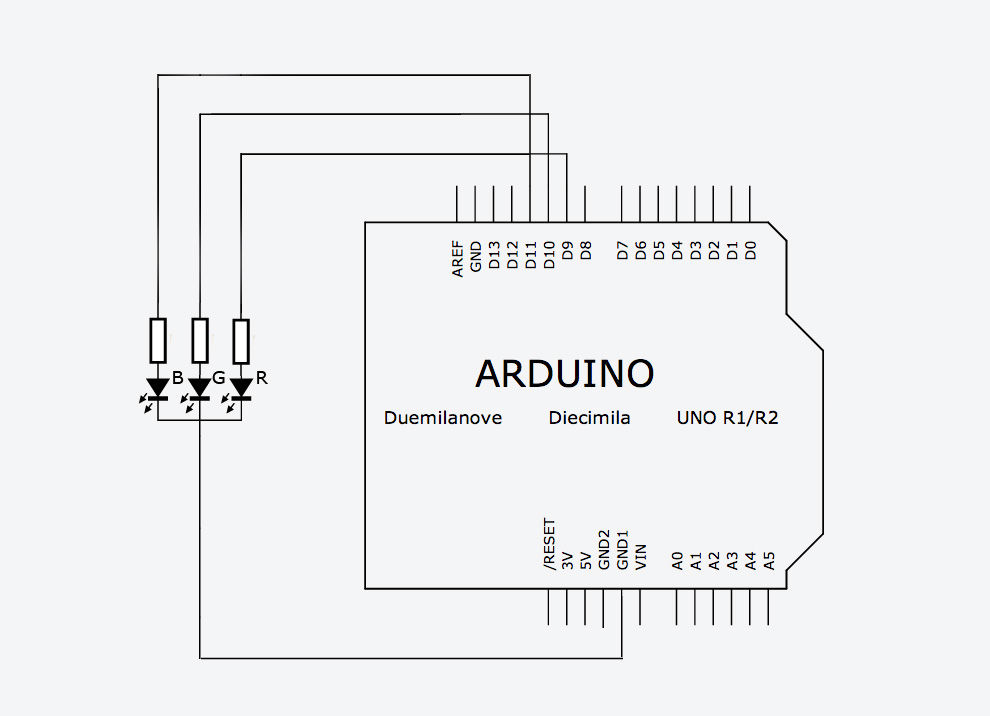
int ledPin = 9; // LED connected to digital pin 12
int ledPin2 = 10; // LED connected to digital pin 1
int ledPin3 = 11; // LED connected to digital pin 0
float kickSize, snareSize, hatSize;
void setup() {
size(512, 200, P3D);
minim = new Minim(this);
arduino = new Arduino(this, Arduino.list()[2], 9600);
song = minim.loadFile("Uptown Funk.mp3", 2048);
song.play();
// a beat detection object that is FREQ_ENERGY mode that
// expects buffers the length of song's buffer size
// and samples captured at songs's sample rate
beat = new BeatDetect(song.bufferSize(), song.sampleRate());
// set the sensitivity to 300 milliseconds
// After a beat has been detected, the algorithm will wait for 300 milliseconds
// before allowing another beat to be reported. You can use this to dampen the
// algorithm if it is giving too many false-positives. The default value is 10,
// which is essentially no damping. If you try to set the sensitivity to a negative value,
// an error will be reported and it will be set to 10 instead.
beat.setSensitivity(400);
kickSize = snareSize = hatSize = 16;
// make a new beat listener, so that we won't miss any buffers for the analysis
bl = new BeatListener(beat, song);
textFont(createFont("Helvetica", 16));
textAlign(CENTER);
arduino.pinMode(ledPin, Arduino.OUTPUT);
arduino.pinMode(ledPin2, Arduino.OUTPUT);
arduino.pinMode(ledPin3, Arduino.OUTPUT);
}
void draw() {
background(0);
fill(255);
if(beat.isKick()) {
arduino.digitalWrite(ledPin, Arduino.HIGH); // set the LED on
delay(100);
arduino.digitalWrite(ledPin2, Arduino.HIGH);// set the LED on
kickSize = 32;
}
if(beat.isSnare()) {
arduino.digitalWrite(ledPin2, Arduino.HIGH); // set the LED on
delay(100);
arduino.digitalWrite(ledPin3, Arduino.HIGH);// set the LED on
snareSize = 32;
}
if(beat.isHat()) {
arduino.digitalWrite(ledPin3, Arduino.HIGH); // set the LED on
delay(100);
arduino.digitalWrite(ledPin, Arduino.HIGH); // set the LED on
hatSize = 32;
}
arduino.digitalWrite(ledPin, Arduino.LOW); // set the LED off
arduino.digitalWrite(ledPin2, Arduino.LOW); // set the LED off
arduino.digitalWrite(ledPin3, Arduino.LOW); // set the LED off
textSize(kickSize);
text("KICK", width/4, height/2);
textSize(snareSize);
text("SNARE", width/2, height/2);
textSize(hatSize);
text("HAT", 3*width/4, height/2);
kickSize = constrain(kickSize * 0.95, 16, 32);
snareSize = constrain(snareSize * 0.95, 16, 32);
hatSize = constrain(hatSize * 0.95, 16, 32);
}
void stop() {
// always close Minim audio classes when you are finished with them
song.close();
// always stop Minim before exiting
minim.stop();
// this closes the sketch
super.stop();
}

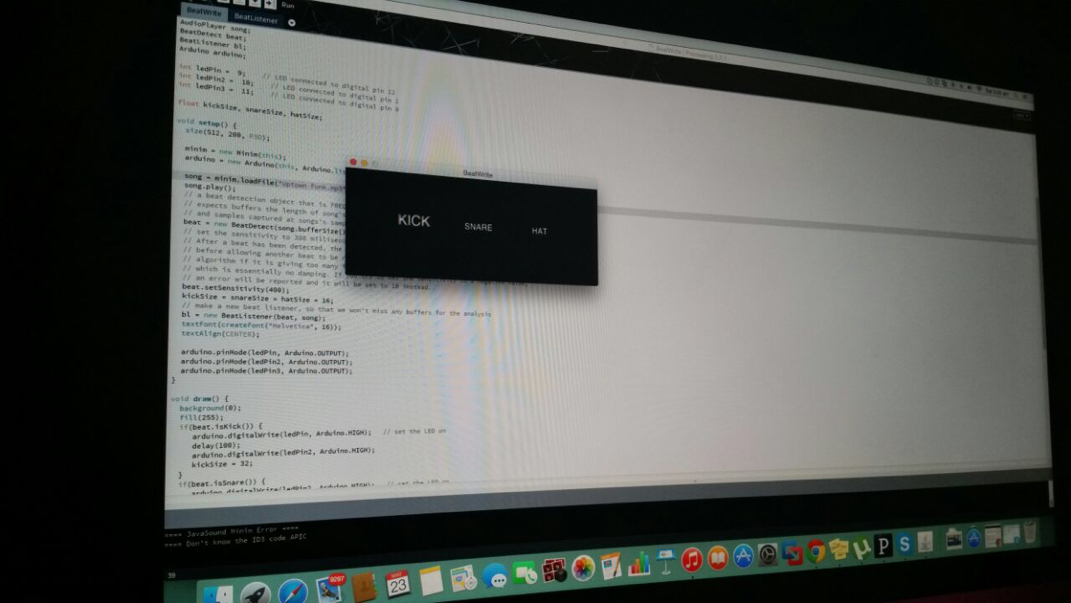
The above image is made using the below code:
textSize(kickSize);
text("KICK", width/4, height/2);
textSize(snareSize);
text("SNARE", width/2, height/2);
textSize(hatSize);
text("HAT", 3*width/4, height/2);
kickSize = constrain(kickSize * 0.95, 16, 32);
snareSize = constrain(snareSize * 0.95, 16, 32);
hatSize = constrain(hatSize * 0.95, 16, 32);
BeatListner Code
The details about this code can be found with Audio Player class of minim library
class BeatListener implements AudioListener
{
private BeatDetect beat;
private AudioPlayer source;
BeatListener(BeatDetect beat, AudioPlayer source)
{
this.source = source;
this.source.addListener(this);
this.beat = beat;
}
void samples(float[] samps)
{
beat.detect(source.mix);
}
void samples(float[] sampsL, float[] sampsR)
{
beat.detect(source.mix);
}
}
{
private BeatDetect beat;
private AudioPlayer source;
BeatListener(BeatDetect beat, AudioPlayer source)
{
this.source = source;
this.source.addListener(this);
this.beat = beat;
}
void samples(float[] samps)
{
beat.detect(source.mix);
}
void samples(float[] sampsL, float[] sampsR)
{
beat.detect(source.mix);
}
}


 RSS Feed
